Table of Contents
Face is the most important, yet most vulnerable part of our body. No matter how hard we try to maintain our glow by using night creams and moisturizers, it still gets dull in no time. The reason is, face is subjected to maximum environmental damage. Everyday pollution and harsh sun rays cause maximum damage to the skin. No matter you use a sunscreen, wrap your face with a scarf, or wash it every three hours daily, dust particles are still too fine to seep through your scarf. And sunscreen can protect your skin against sun rays, but still the face collects a lot of dirt by the end of each day. Regular facials are the only key to maintain skin’s health and sustain youth and radiance. But what about the women who do not get enough time to visit parlours? Their skin needs maximum pampering. So, to help you ladies who are too lazy or too busy to visit parlours, we bring forth our list of 11 simple steps to do your facial at home, and get that parlour like glow.
However, doing facial at home comes with a word of caution. Select a proper facial kit according to your skin type. Choosing an oily skin facial for dry skin will do no good. Instead, it will cause much harm. Also, choose a facial wisely, according to a specific problem that you are targeting. For example, use an anti aging facial kit if you want to get rid of fine lines and wrinkles, and an acne curing facial kit if you want to get rid of dark acne marks and active pimples. And don’t worry about the glow. All facials add glow to the skin when done properly. Having said that, let us move to the list of 11 simple facial steps that will give you a glowing skin easily at home.
1. Wash Your Face With Your Regular Face Wash
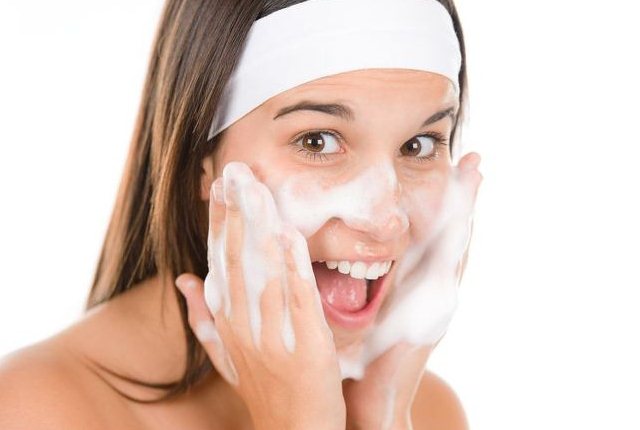
While most people say facials start with facial cleansers, it is a myth. Use your regular face wash to get your skin facial ready. Most people would say that this technique is different from what is done at parlours. But you need to understand that at parlours your skin is in the hands of experts. And you need to do a few extra things to match their standard. So, begin with simply washing your face with your face wash and pat it dry softly.
2. Use The Facial Cleanser
After you wash the superficial dirt with your normal face wash, it is time to target sebum around the t zone. And that is what a facial cleanser is meant for. Simply take optimum amount of cleanser in your palm or a cotton ball, and thoroughly apply it on your face. Massage it gently, especially around the t-zone. It will remove a lot of sebum from your skin. Also, it will partially remove dirt particles that clog the skin pores. This will give the facial a better chance to seep within.
3. Bleaching
People believe that cleansing is the beginning of facials. But this turns out to be a myth when you are trying to get a parlour like glow at home. Just like a concealer is the first step to make your skin makeup ready, similarly bleaching is the first step to make your skin facial ready. Bleaching adds that extra oomph that makes your skin up to 2 shades fairer. Mix the bleaching cream with a pinch of activator.
Now, you have to be very careful with the activator. Remember, activator helps in lightening the appearance of facial hair. It is a compound that also boosts the skin’s oxygen level. In a rush to get extra fairness, do not end up mixing the bleaching cream and activator in equal proportions. Always add one fourth activator and three fourth bleaching cream. If you have a dark skin, keep it on for 10 minutes. If you have medium to fair skin, keep it on for 20 minutes. Do not ever wash your face with warm or lukewarm water after bleaching it. Rinse it properly, avoiding any eye contact, with tap water.

4. Apply Ice On Your Face
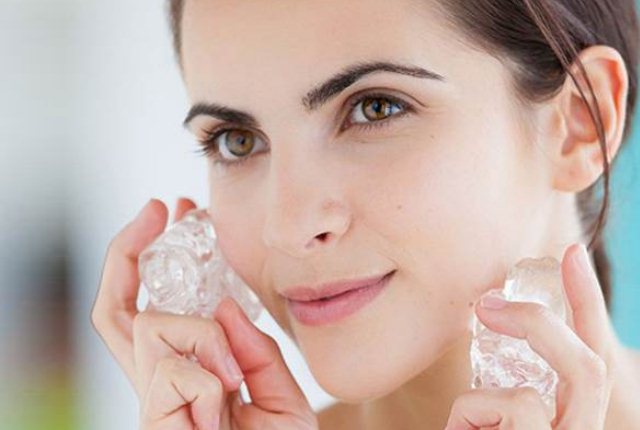
Let your skin settle down for fifteen minutes after bleaching it. Take ice cubes and wrap them in a clean soft cloth. Keep rubbing it very gently on your face. Pat the skin dry with a clean towel.
5. Exfoliate Your Skin
Exfoliation is an extremely important part of facial. However, you wouldn’t get the desired effects if you rub your skin too hard in a rush to remove dirt. Treat your skin like a baby, and scrub your face with loose hands. It is even better if you opt for a facial kit that comes with a scrub having fine granules. People think that thicker granules offer better exfoliation. But the truth is its opposite. Finer the granules, better the exfoliation.
Start scrubbing your face with gentle upward strokes covering the t zone. But avoid any direct scrubbing above and under the eyes. The eye skin is too soft to scrubbed for long. If you still wish to, ensure you are very gentle. Do not over do it. Do not exfoliate your skin for more than fifteen minutes. Remove it will a moist towel gently using ice cold water. Exfoliation will remove all the dust particles from your skin, including blackheads and whiteheads. It will unclog the skin pores making them clean and fresh.
6. Massage Your Skin
Now comes the step that your skin desires the most. Apply dots of massage cream all over your face generously, including the skin under your eyes. Keep your eyes shut throughout the process. Take a little water in your palms and evenly spread the entire cream on your face. Massage your skin with gentle upward and circular strokes. Gently massage the skin around your eyes in a circular motion, while pressing the forehead. Repeat the same process all over your face. This will increase the blood circulation, giving your skin cells an extra boost of oxygen from inside. Massage your skin for 20 to 25 minutes. Proper massaging will add that extra glow and fairness that you thought could only be achieved at parlours.
7. Use Eye Serum
Use a moist face towel to gently remove all the massage cream from your face. Now apply fine dots of eye serum above and under the eyes. While the entire face is pampered during facial, the skin under and above the eyes gets neglected. Eye nourishment is equally important, but remains ignored and underrated part of facial. Massaging the skin above and under the eyes loosen the stiff eye muscles. The skin under the eyes is up to 10 times softer than the rest of face. It is essential to nourish the eye muscles as well. Increased blood circulation will get rid of dark circles that you develop due to pollution and stress. De-stressing and detoxifying the eye skin will remove premature fine lines and wrinkles.
8. Use A Face Mask
Let serum rest around the eyes and apply a face pack on your skin, including the skin under your eyes. If you have a powdered face mask, mix it with rose water to make paste. The paste should be even in consistency. Don’t make it too runny like water and don’t make it very thick as well.
Use a brush or your hands to apply the face pack all over your face and neck. Keep two slices of cucumber over your eyes. It will have a cooling effect on eyes, relaxing the eye muscles. Keep the face mask on for 15 minutes, and then rinse with tap water.
9. Apply An Astringent
People believe that face mask is the last step of facial. This is one of the biggest mistakes. After getting a beautiful radiant glow, women end up regretting getting a facial done, at home and even at parlours at time. When the skin is left alone and moisturized directly after rinsing the face pack, the pores are left open. Open pores, as all of us know, attract dust. It results in getting a pimple or two within 24 hours of facial. Never forget to apply an astringent on your face after rinsing the face pack.
If you have a sensitive skin, you can use ice to cool your skin. Once it settles down, pat it dry. Generously apply astringent on your entire face. You will certainly feel a tingling sensation, but that is natural. You can also use a toner instead of an astringent. Toner is a milder form of astringent. It will shrink the pore size, and will protect your newly reformed baby soft skin’s beauty.
10. Moisturizer Your Skin
Moisturizing the skin after toning is very important. It keeps the skin hydrated and makes it smoother. Take the moisturizer in your hands or make dots all over the face. Gently massage the moisturizer on your face until it is completely absorbed.
11. Apply A Sunscreen
With this step, we come to an end of doing facial at home. Leaving the fresh young skin cells exposed to the sun is not a good idea. The new skin cells are prone to maximum damage from UVA and UVB sun rays. Thus, it is necessary to cover your face with a sunscreen immediately after the facial. Infact, always cover your skin with a sunscreen, reapplying it whenever needed.
Staying indoor for a day or two after the facial might also be beneficial.
Now, if you do not see instant glow, you need not to worry. The skin has gone through a lot after facial, and it needs time to settle down. It might even appear reddish. That is due to increased blood circulation. You will start seeing the results within two to three days of facial. Enjoy having a soft, fairer and glowing skin that you always desired for.
Caution: Please use Home Remedies after Proper Research and Guidance. You accept that you are following any advice at your own risk and will properly research or consult healthcare professional.


